14 January 2023
Azure provides free resources for email sending, namely:
I will provide a step-by-step guide with screenshots on how to send email using those resources together with the associated .NET SDK.
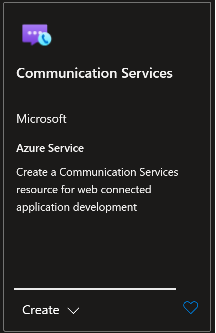
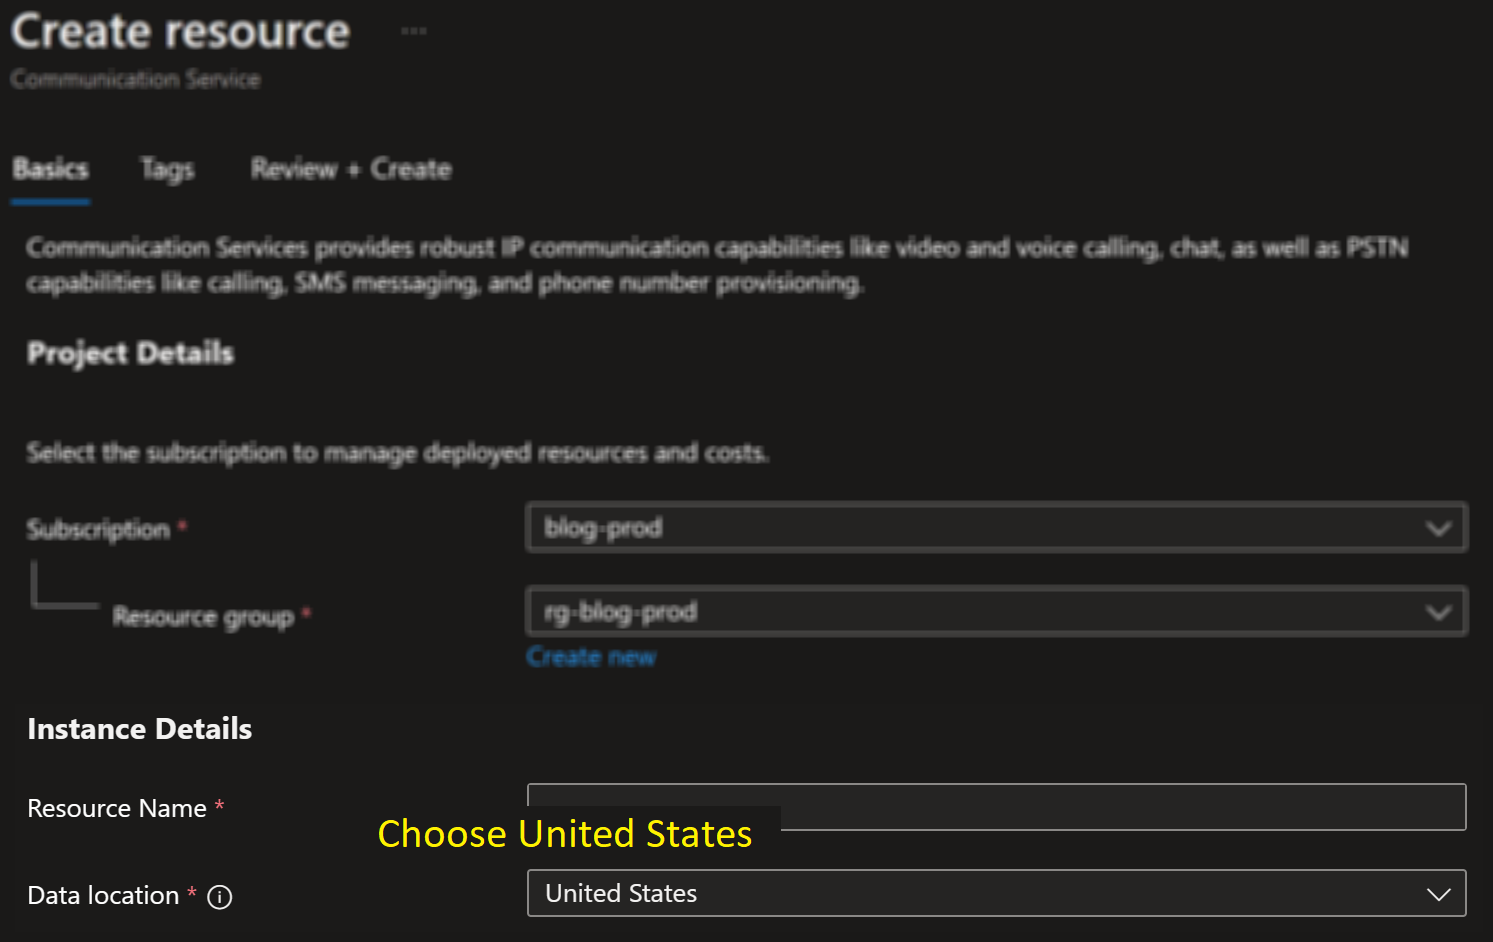
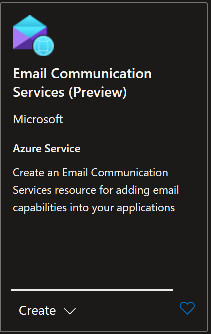
For email sending the work, the data location of our Communication Service must match the data location of our Email Communication Service. That’s why we had to choose United States when we created the Communication Service earlier. Hopefully, more data location options will be added in the future.
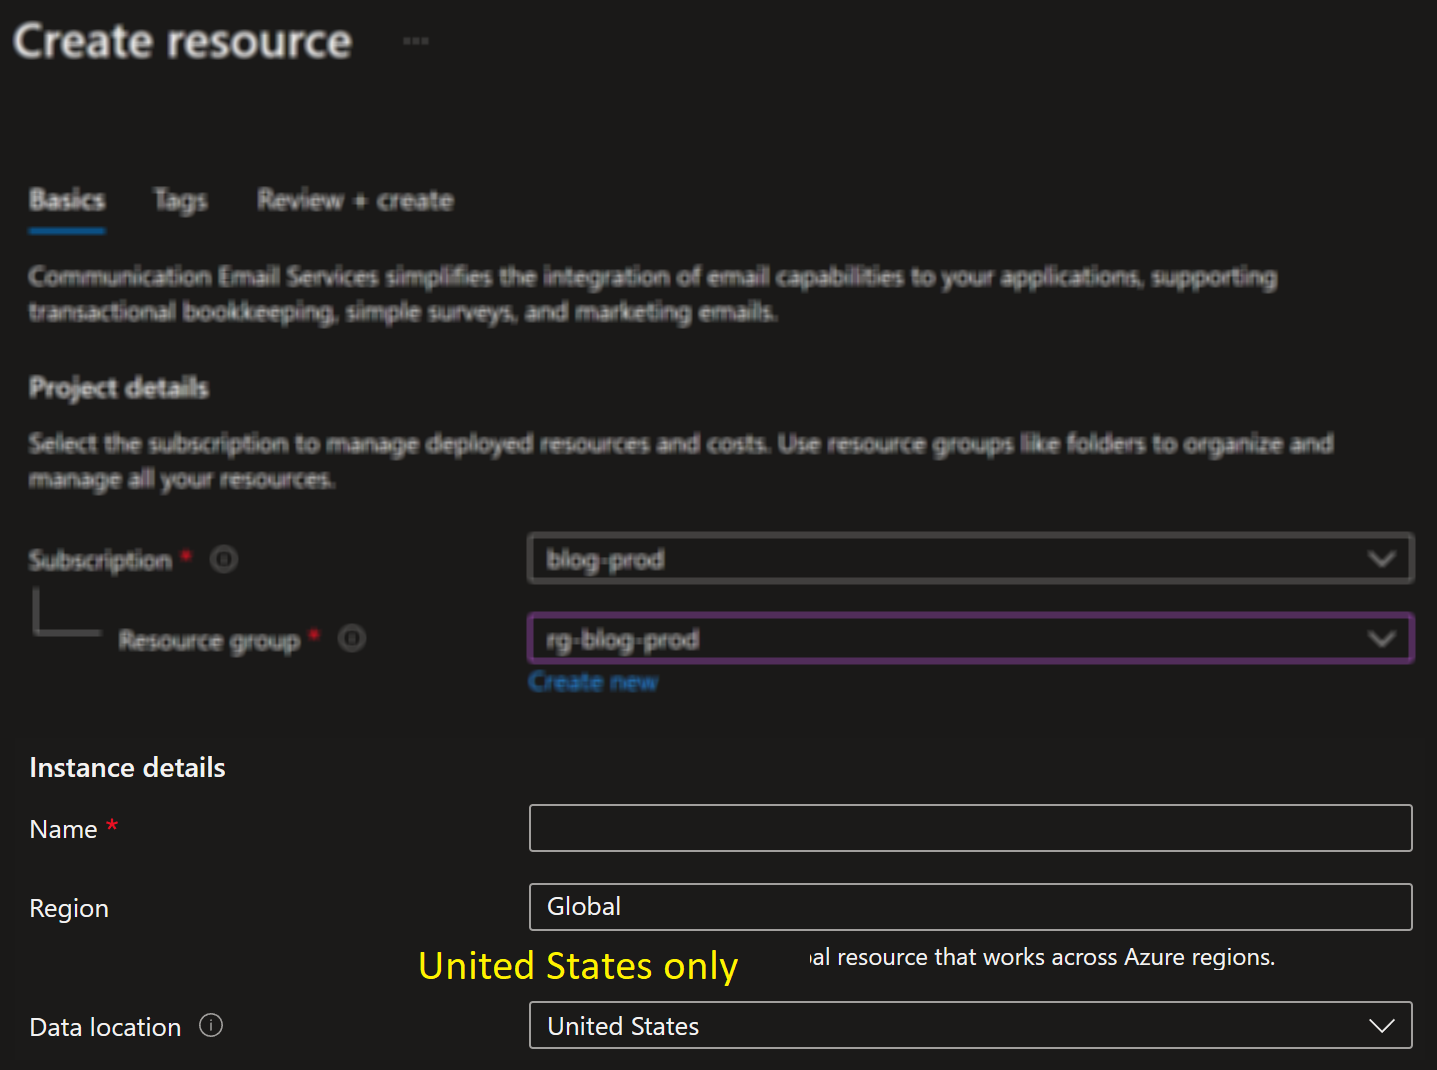
In the same way that Azure provides a free out-of-the-box domain for Azure App Services web sites, Azure also provides a free out-of-the-box domain for emails. We are going to use the provided domain, which is @{identifier}.azurecomm.net, where identifier is a placeholder for a random identifier.
We need to tell Azure that we want to use the provided domain, as opposed to, say, a custom domain that we already own.
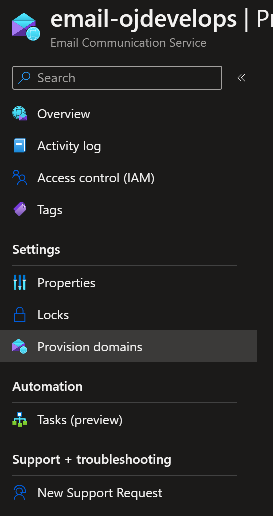
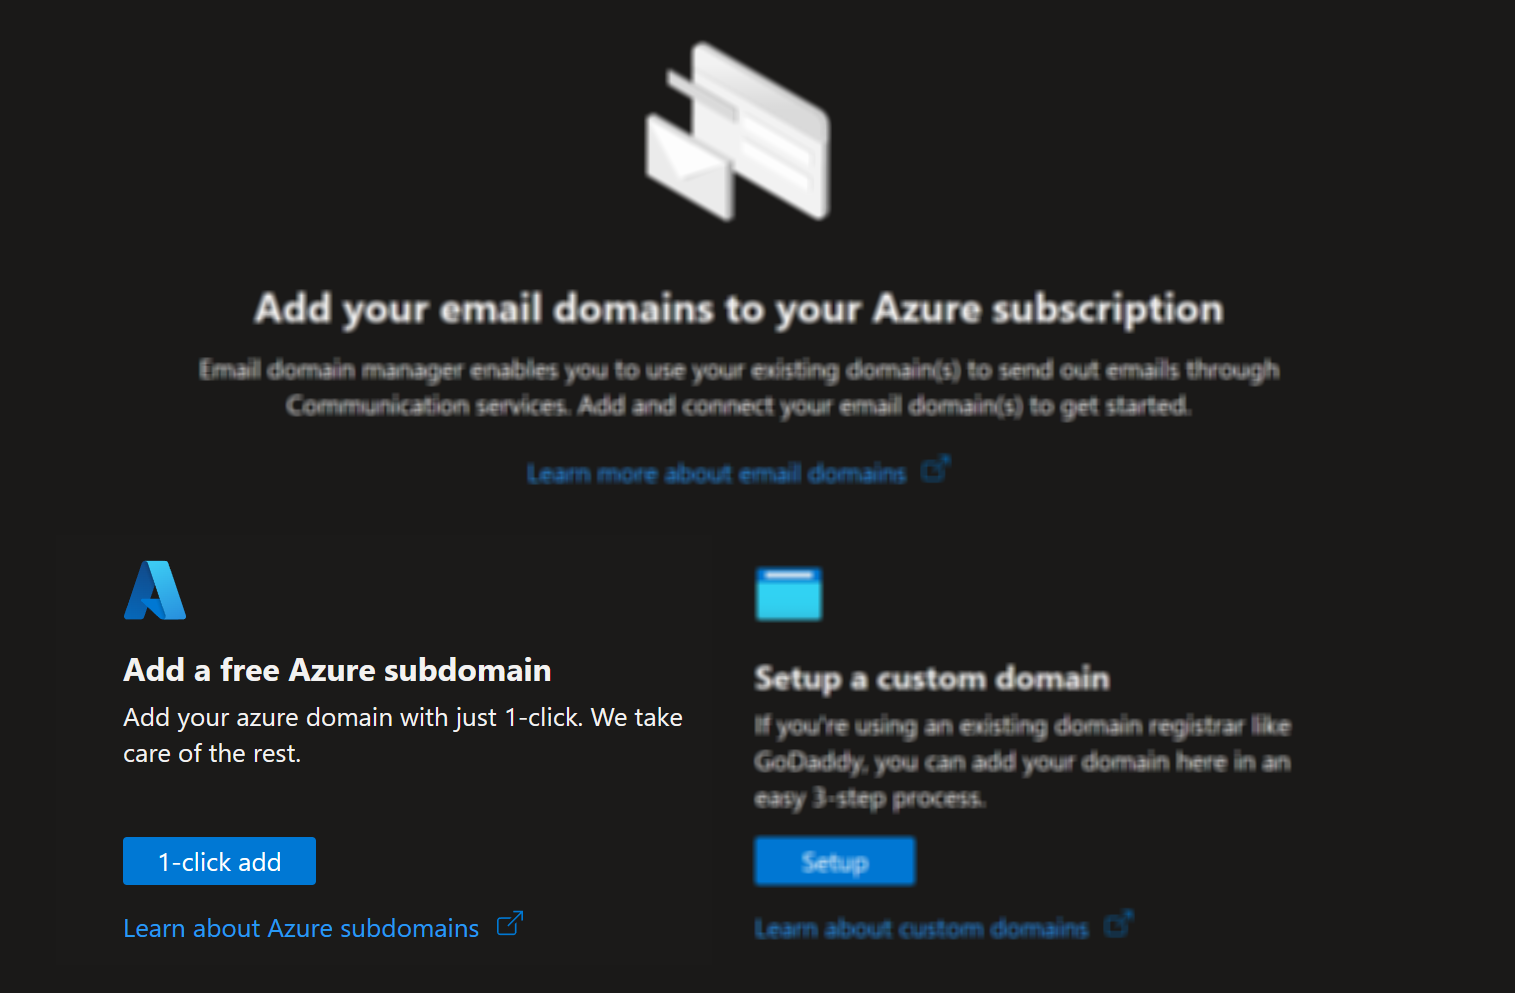
The domain will be deployed in the background, which can take a few minutes. After deployment finishes, the new domain will be shown on the screen.

Note that the domain is represented not just as a property on the Email Communication Services resource but as an entirely new resource altogether, which is the Email Communication Services Domain resource. Clicking on the domain name from the list will take us to the resource.
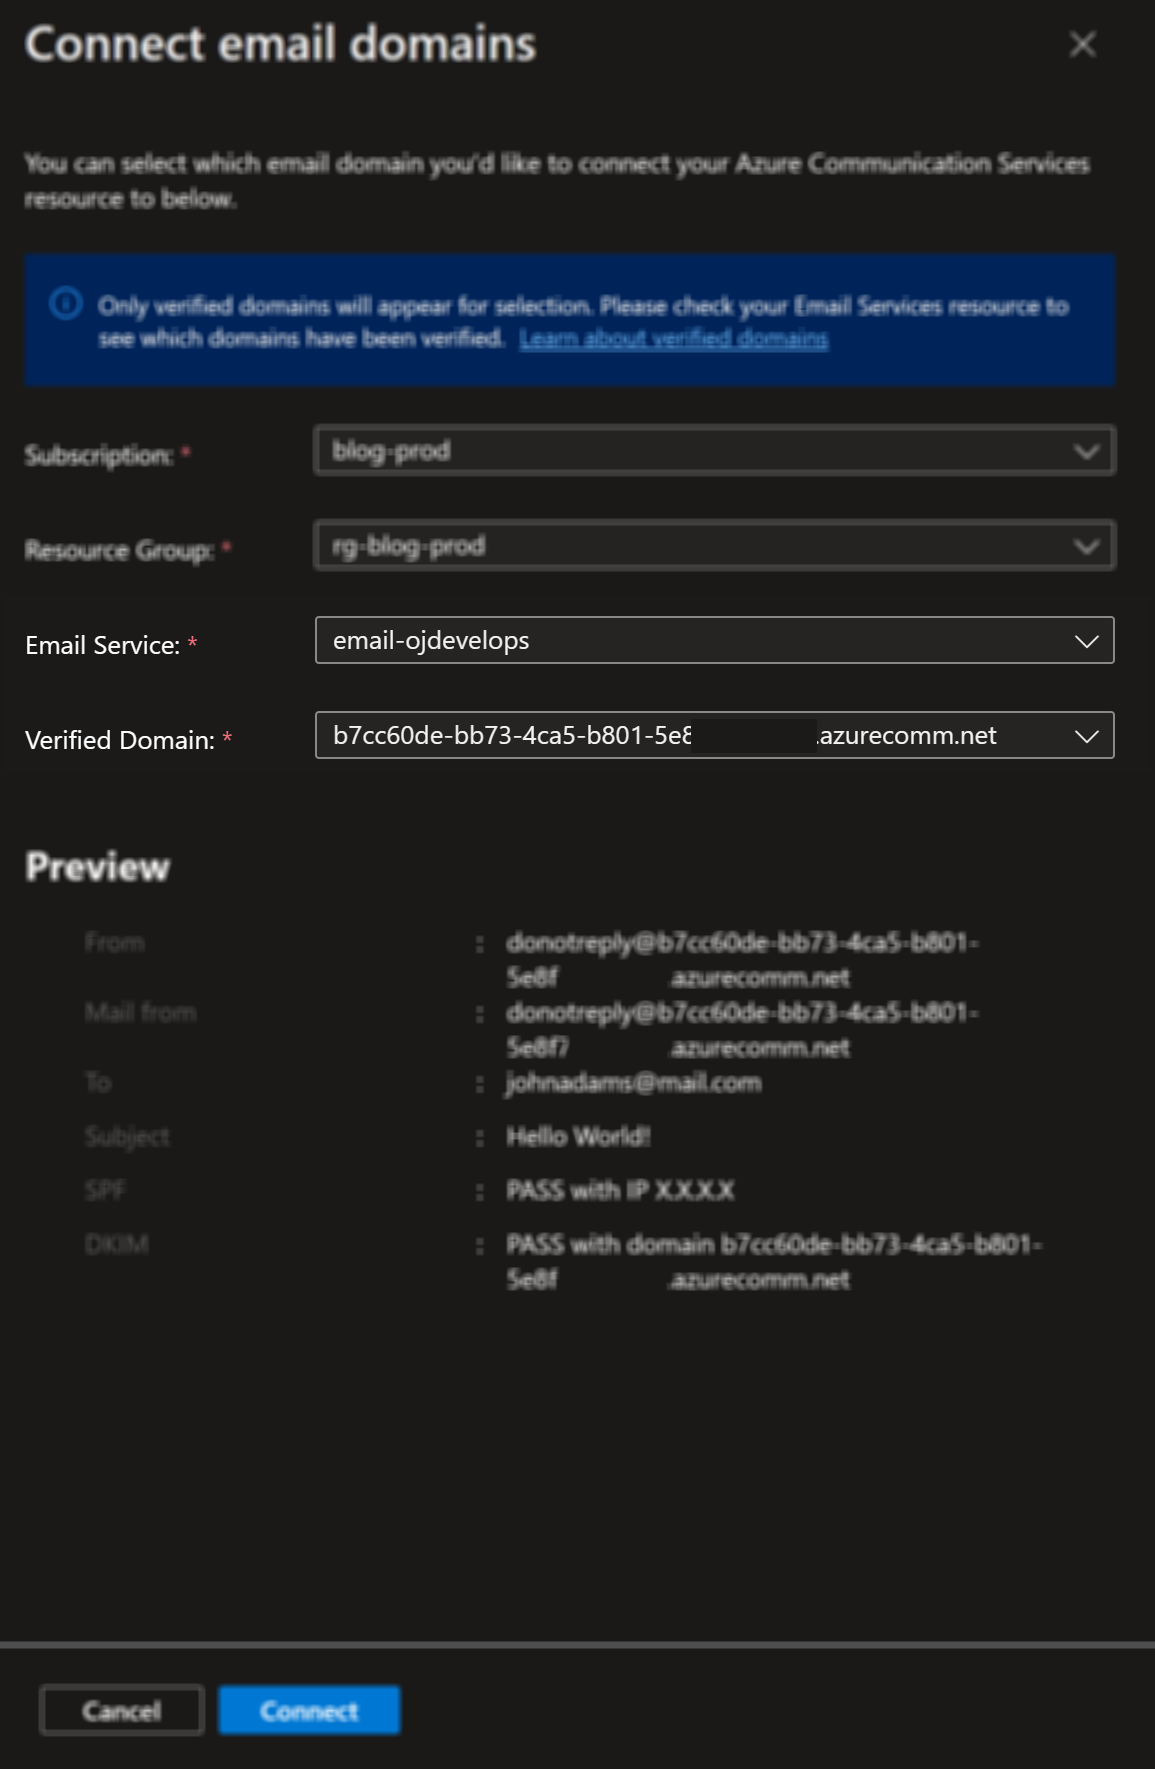
The final step on the Azure side of things is to connect the email domain with our Communication Services resource.
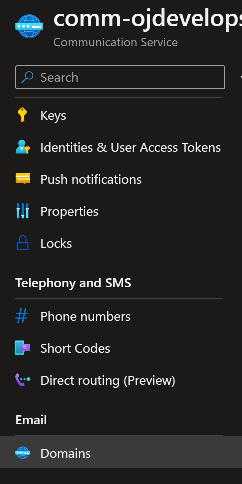
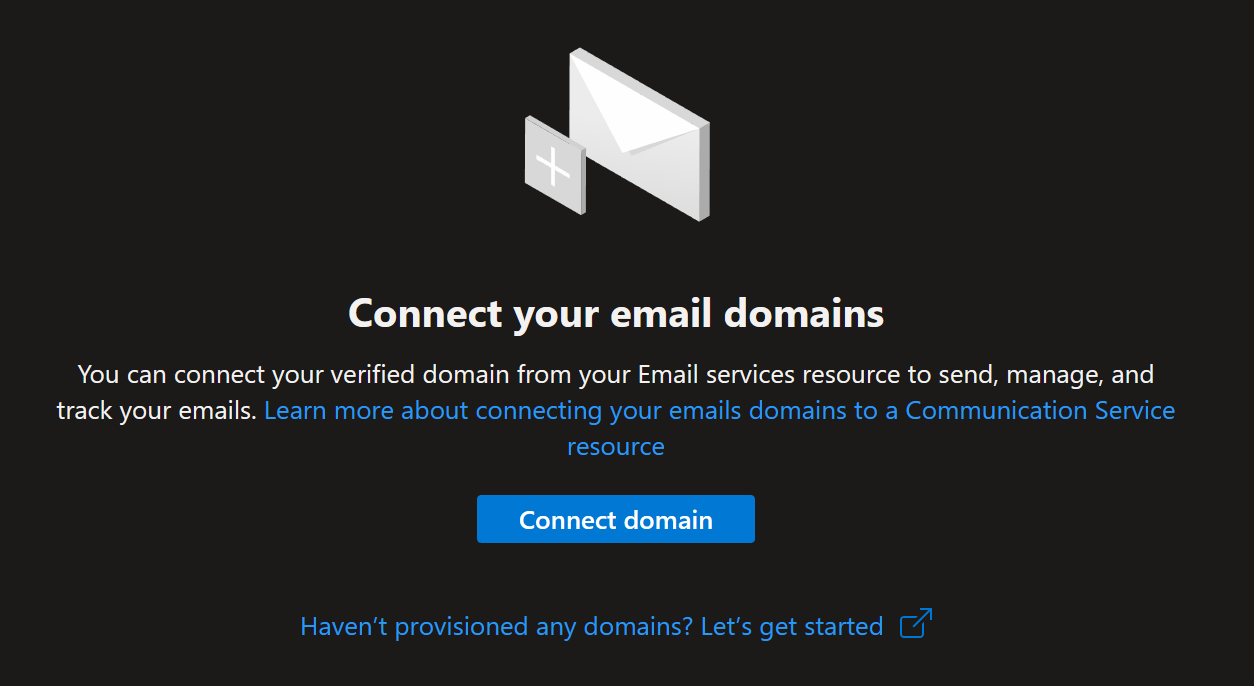

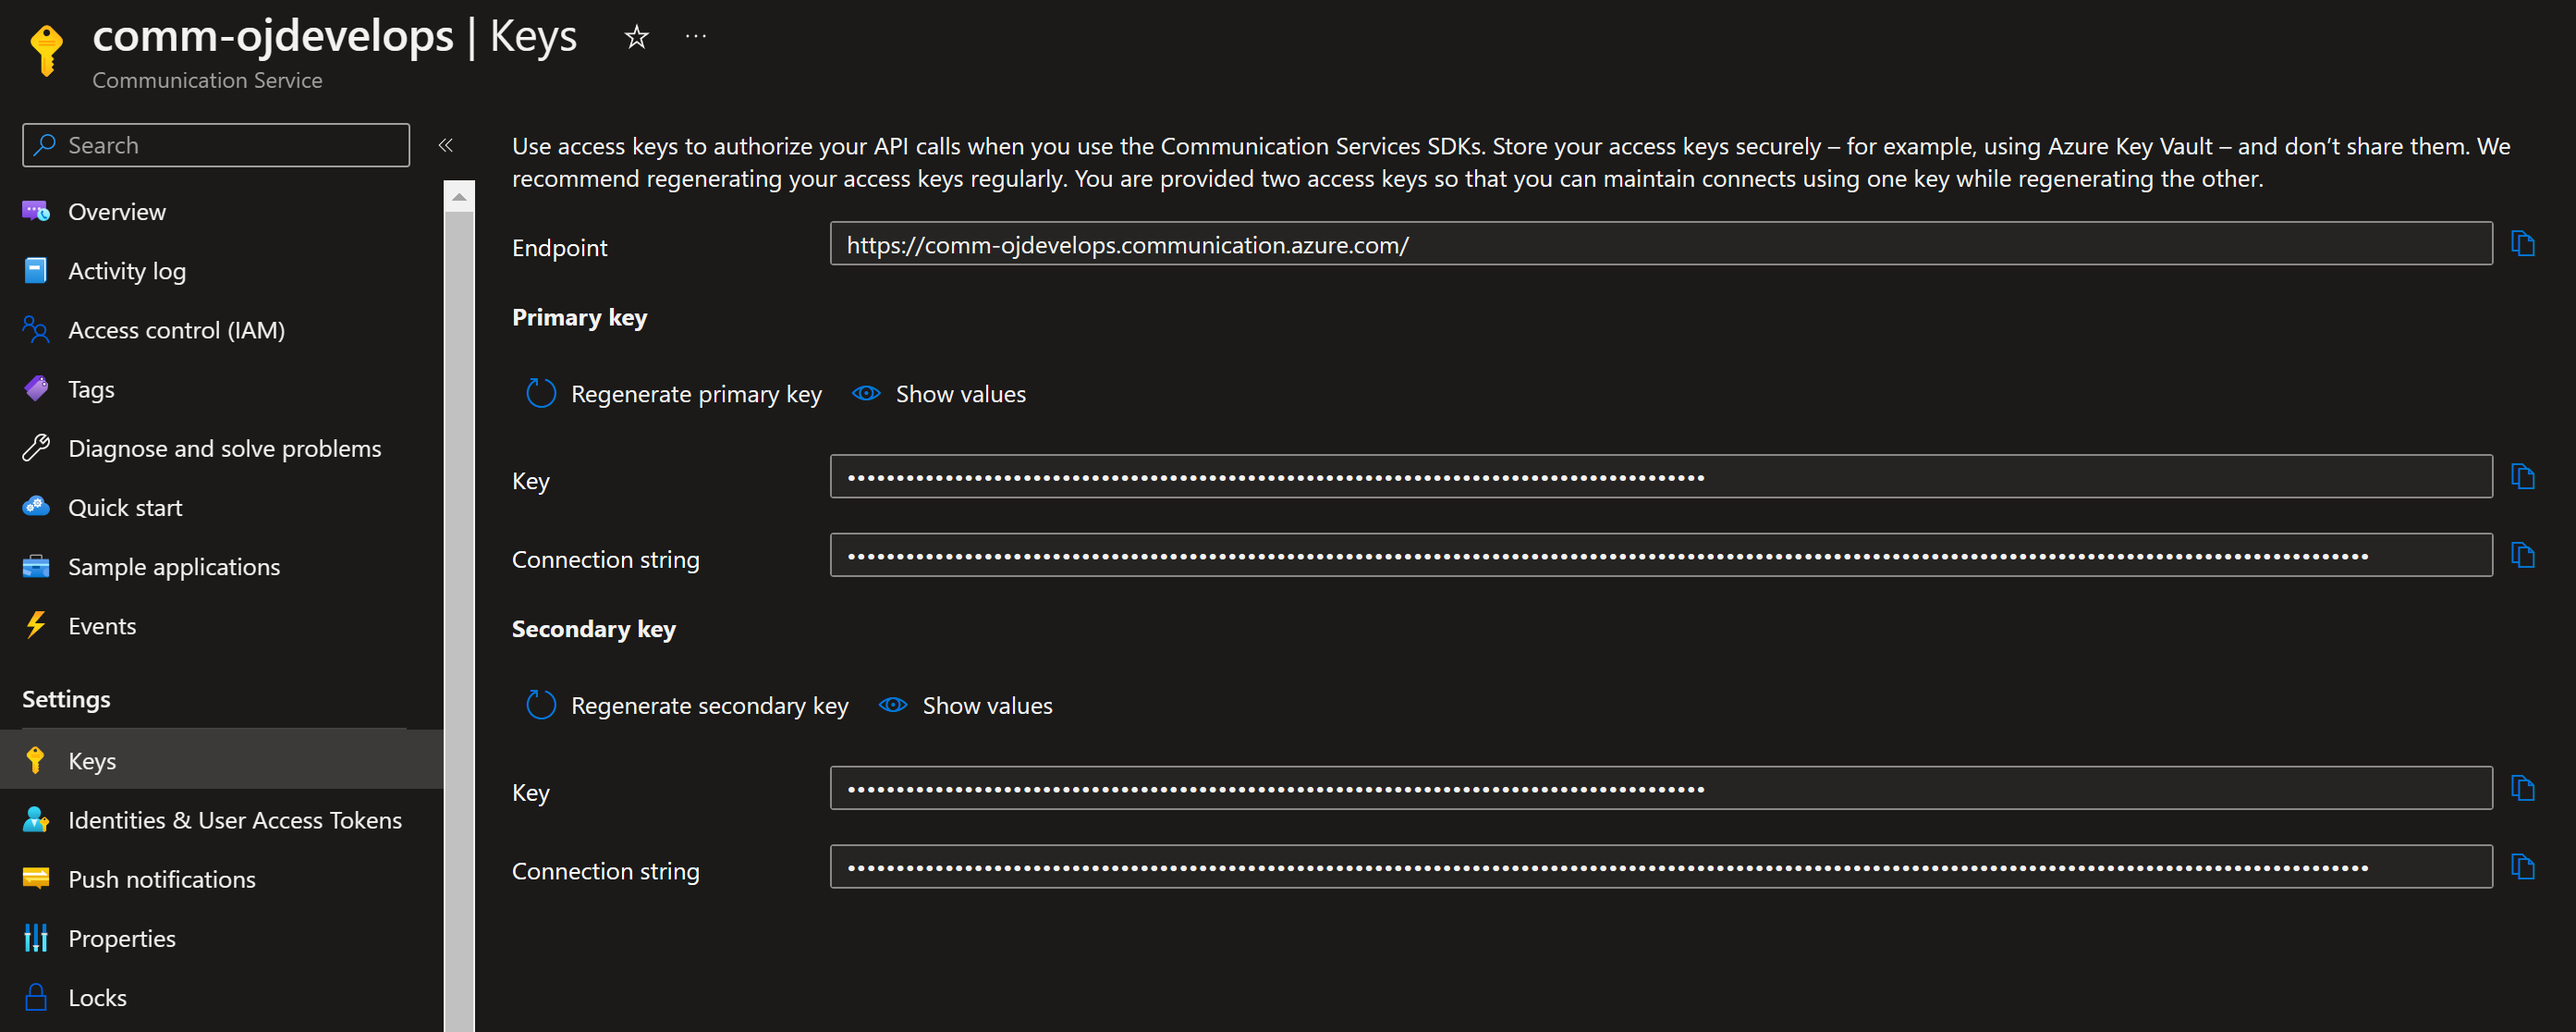
We also need some information that will be used later during coding. Retrieve the connection string of the Communication Services resource under the Keys menu on the sidebar:
Also retrieve the MailFrom address which can be found in the Email Communication Services Domain resource on the Overview page:

We now have all the necessary Azure resources and information to send email.
SDKs for different languages are available, including C#, JavaScript, Java, and Python. We will be using the C# SDK.
dotnet add package Azure.Communication.Email --prerelease
Note that at the time of writing, the package does not appear in Visual Studio’s package manager, even when the prerelease box is checked.
using Azure;
using Azure.Communication.Email;
using Azure.Communication.Email.Models;

// ...

var connectionString = ""; // put the connection string of the communication service resource
var mailFrom = ""; // put the mailfrom address from the domain resource

EmailClient emailClient = new EmailClient(connectionString);
EmailContent emailContent = new EmailContent("-put subject here-");
emailContent.PlainText = "-put body here-";
List<EmailAddress> emailAddresses = new List<EmailAddress> { new EmailAddress("-put recipient email here-") { DisplayName = "-put recipient name here-" }};
EmailRecipients emailRecipients = new EmailRecipients(emailAddresses);
EmailMessage emailMessage = new EmailMessage(mailFrom, emailContent, emailRecipients);
SendEmailResult emailResult = emailClient.Send(emailMessage,CancellationToken.None);
That’s it.
Versions used: .NET 6; Azure.Communication.Email package 1.0.0-beta.1